This guide covers the setup work a club admin should complete before publishing the first event in TrackLedger.
1. Get the Club Approved
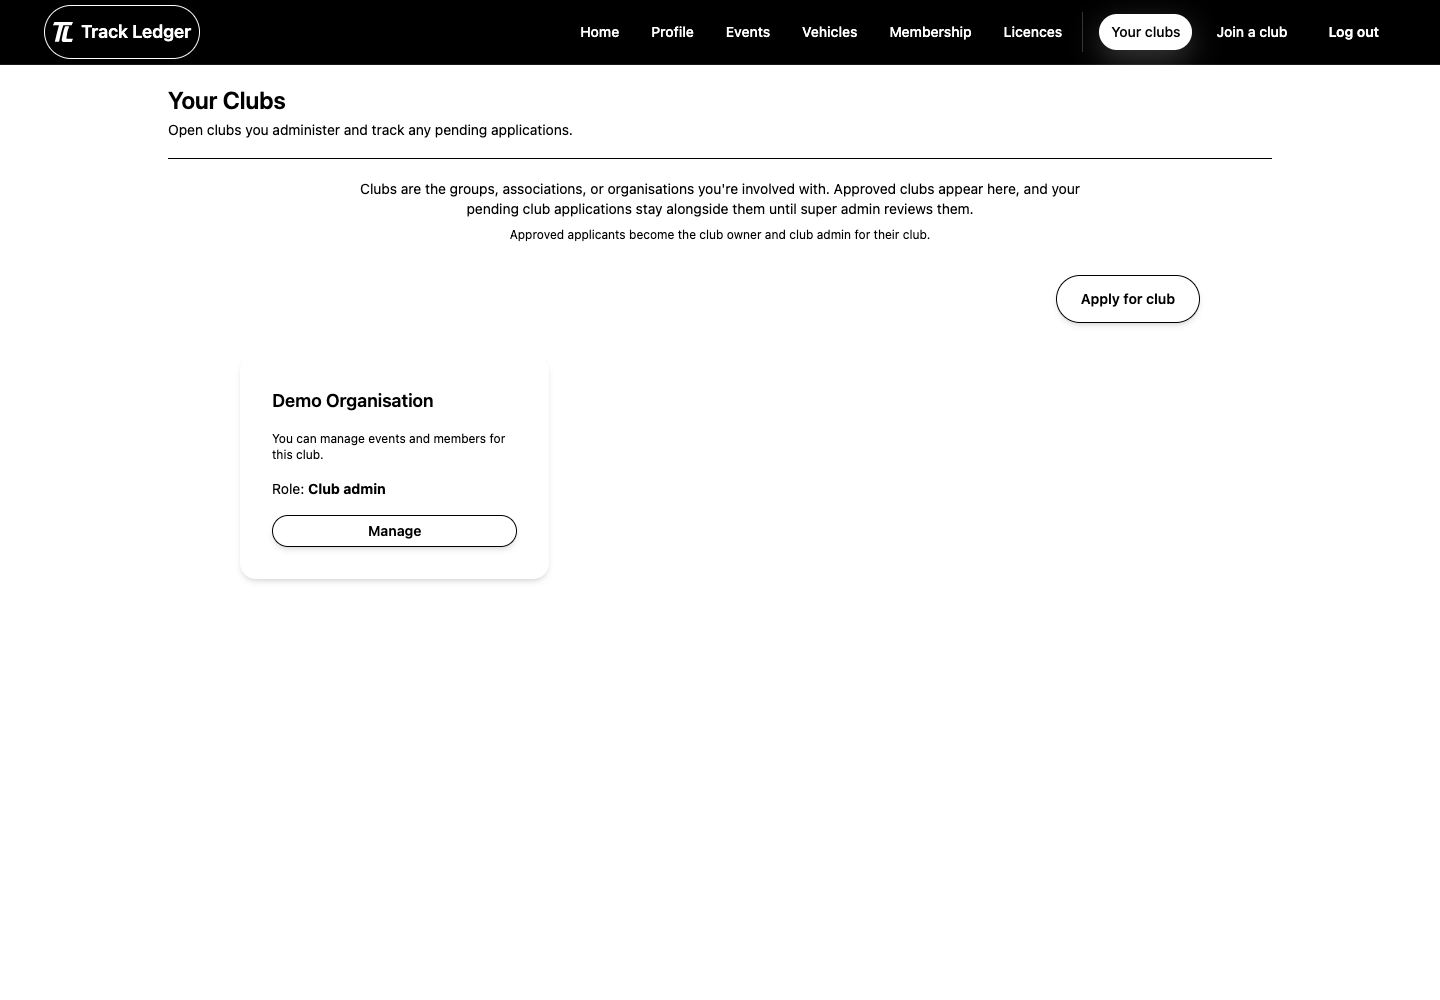
New clubs start with an application. Once approved, the applicant becomes a club owner/admin and can finish setup.
Before submitting, prepare:
- club name
- short description
- contact details
- confirmation that you are authorised to manage the club
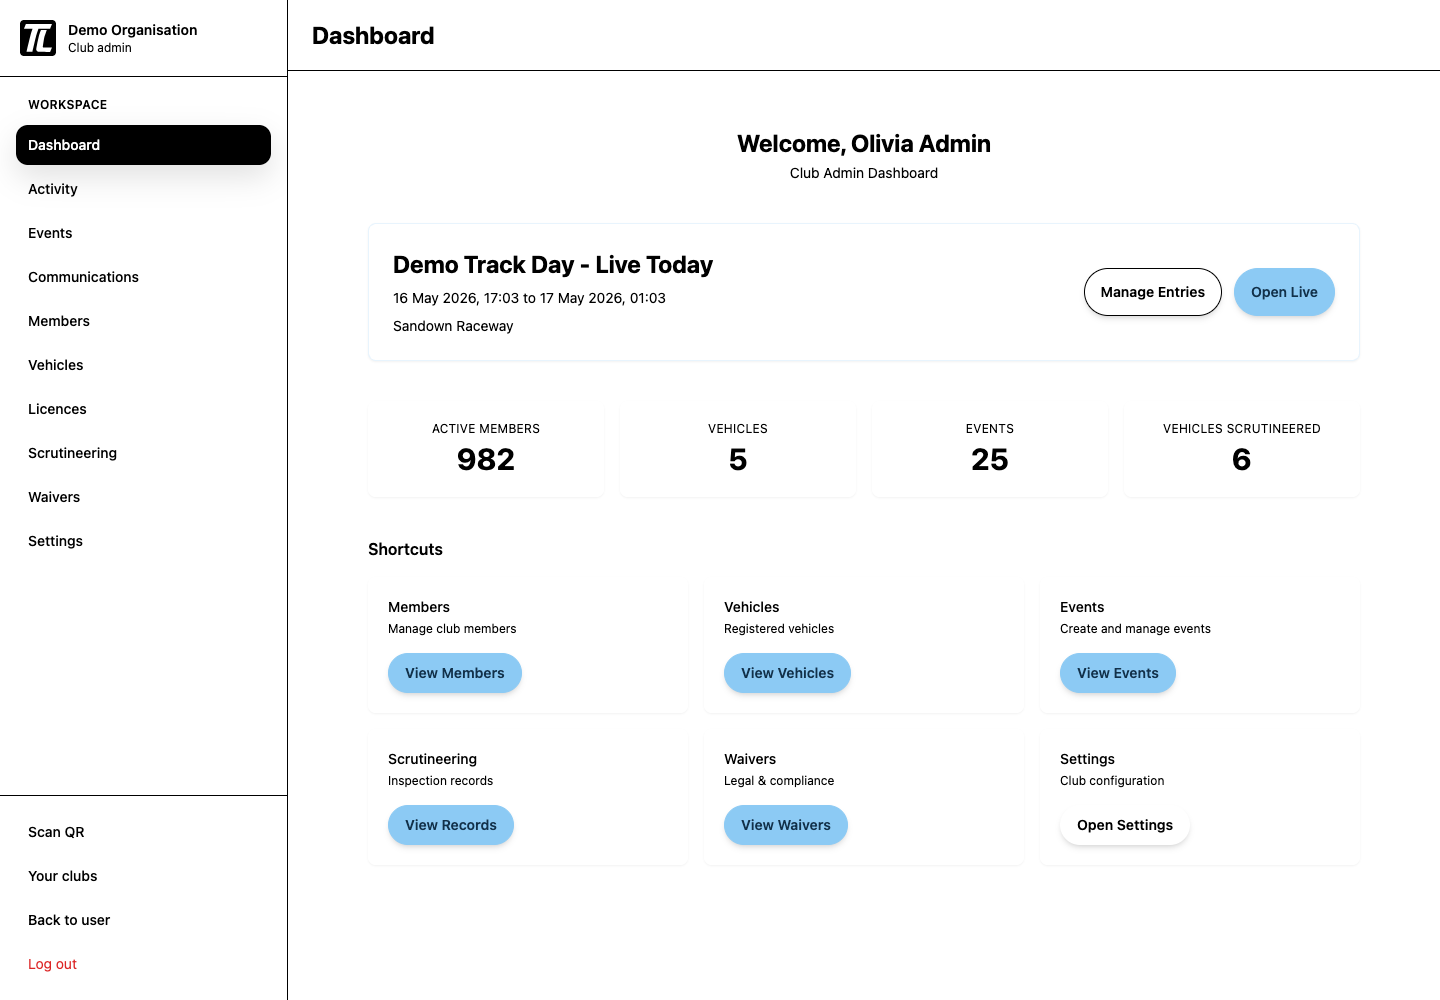
2. Complete Club Settings
In settings, review:
- public profile details
- timezone
- club categories and location
- website, email, and phone
- membership access mode
- follower event entry policy
Timezone is especially important because entry windows, event times, and sign-in availability use the club timezone.
3. Choose Membership Access
Clubs can run:
- public joining, where users can join directly
- private joining, where users need an invite
Private access is useful for clubs that manually control membership. Public access is easier when the club wants self-service joining.
4. Review Plan and Billing Needs
Before inviting members or publishing paid events, decide whether you need:
- Pro plan features
- paid membership setup
- Stripe or PayPal for member payments
- event payment methods for paid entries
Keep plan billing and member/event payments separate in your setup checklist.
5. Prepare Event Foundations
Before your first event, create:
- at least one waiver
- at least one scrutineering checklist
- membership pricing if the club charges members
- payment provider settings if entries or memberships are paid
Launch Checklist
- Club application approved.
- Timezone and profile details complete.
- Membership access mode chosen.
- Waiver and checklist created.
- Billing and payment settings reviewed.
- First event drafted and reviewed before publishing.